Restoring classic cars can be a difficult business. As a car gets older, more of its component parts start to degrade, and more of those same parts go out production and become harder to find. For example, if you find yourself trying to restore a Jaguar XJ6, you might have cracked or broken taillight lenses, with replacements virtually impossible to come by. But what if you could remanufacture a fresh set yourself?
If you want to go that route, you’d need a very particular set of skills. YouTuber Eric Strebel is lucky enough to have those in spades. As an industrial designer, he runs Botzen Design, and he’s got plenty of experience in producing prototypes and design concepts in all kinds of plastics. His YouTube channel has a wealth of information regarding resin casting techniques, explaining in simple details how to achieve the best possible results. It’s those very skills that he relied upon for this project.
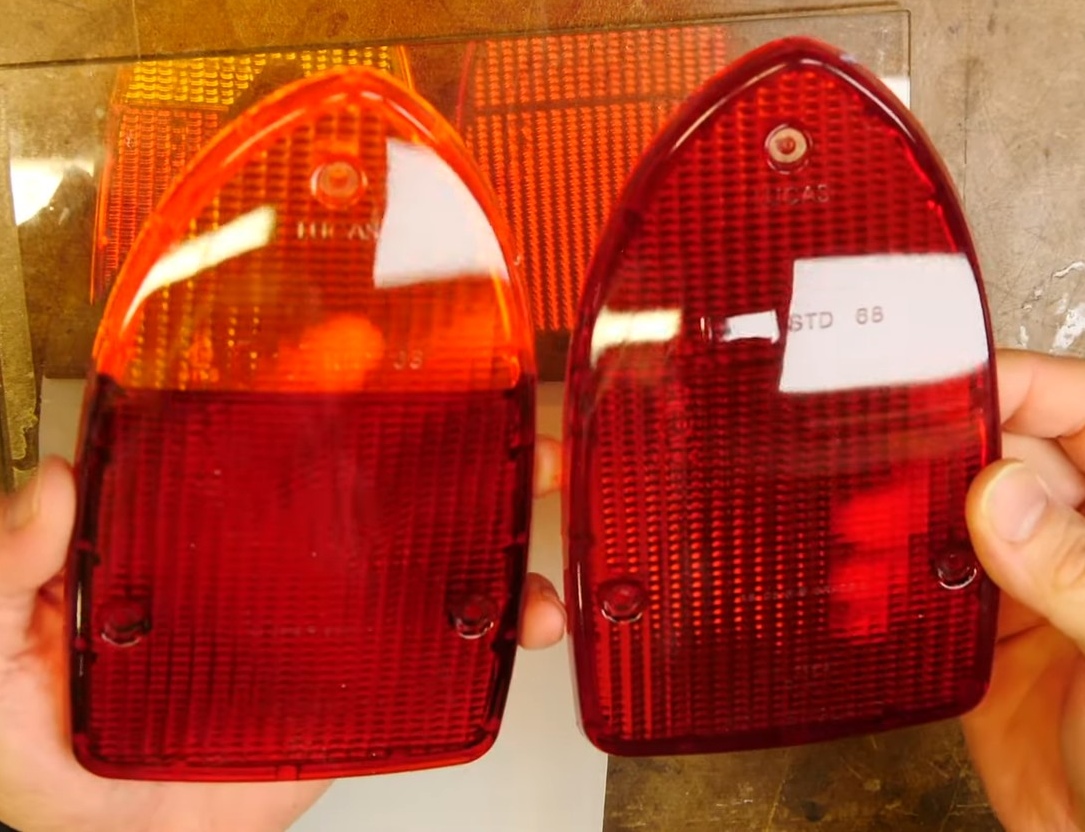
Strebel took on the job for a customer, who sent in a pair of two-tone taillight lenses in amber and red, taken from a Series 2 Jaguar XJ6. His plan was to recreate fresh lenses using resin casting techniques, albeit in a monochrome, all-red version.
Incidentally, if these seem familiar, it might be because our own Jason Torchinsky did a big deep dive into Jaguar taillights quite some time ago. His history lesson taught us that originally, U.S. market XJs started off with all-red taillights, later switching to a version with an amber section at the top. Then he found an ultra-weird all-amber version with a red bulb behind it. In any case, Strebel’s effort is about creating an all-red taillight, but you could use the same technique to do amber instead if you so desired.
The first job is to create a set of molds of the taillight lenses, so they can be recreated in resin. This is achieved by making a silicone casting around the taillights to copy the geometry. This is done in two halves, creating a mold that can be filled with resin and then pulled apart once the material has hardened.
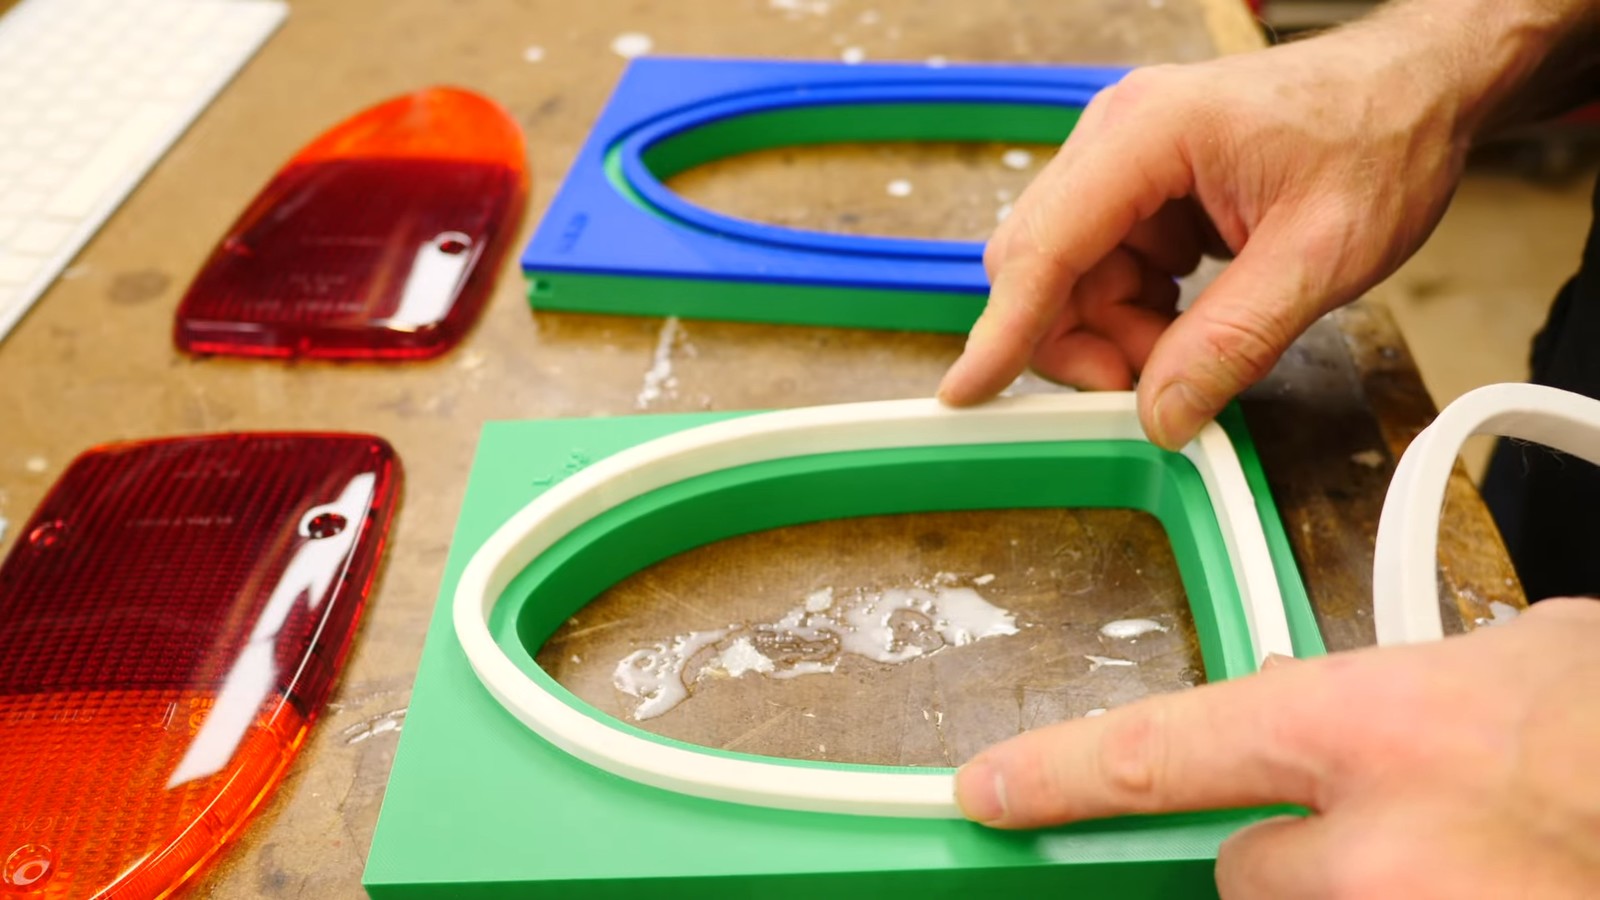
Scanning the taillight on a flatbed scanner provides an accurate outline of the part which is used to create a “splitter board” on a 3D printer, along with flexible seals using TPU filament. Strebel then inspects the lenses, deciding on where he’ll set up a fill port and vents for his resin casting molds. Getting these details right is key to ensuring the molds fill evenly with resin without any air pockets that could spoil the finished product. An old shelf donates the wood for the mold box, which fits around the 3D-printed base.

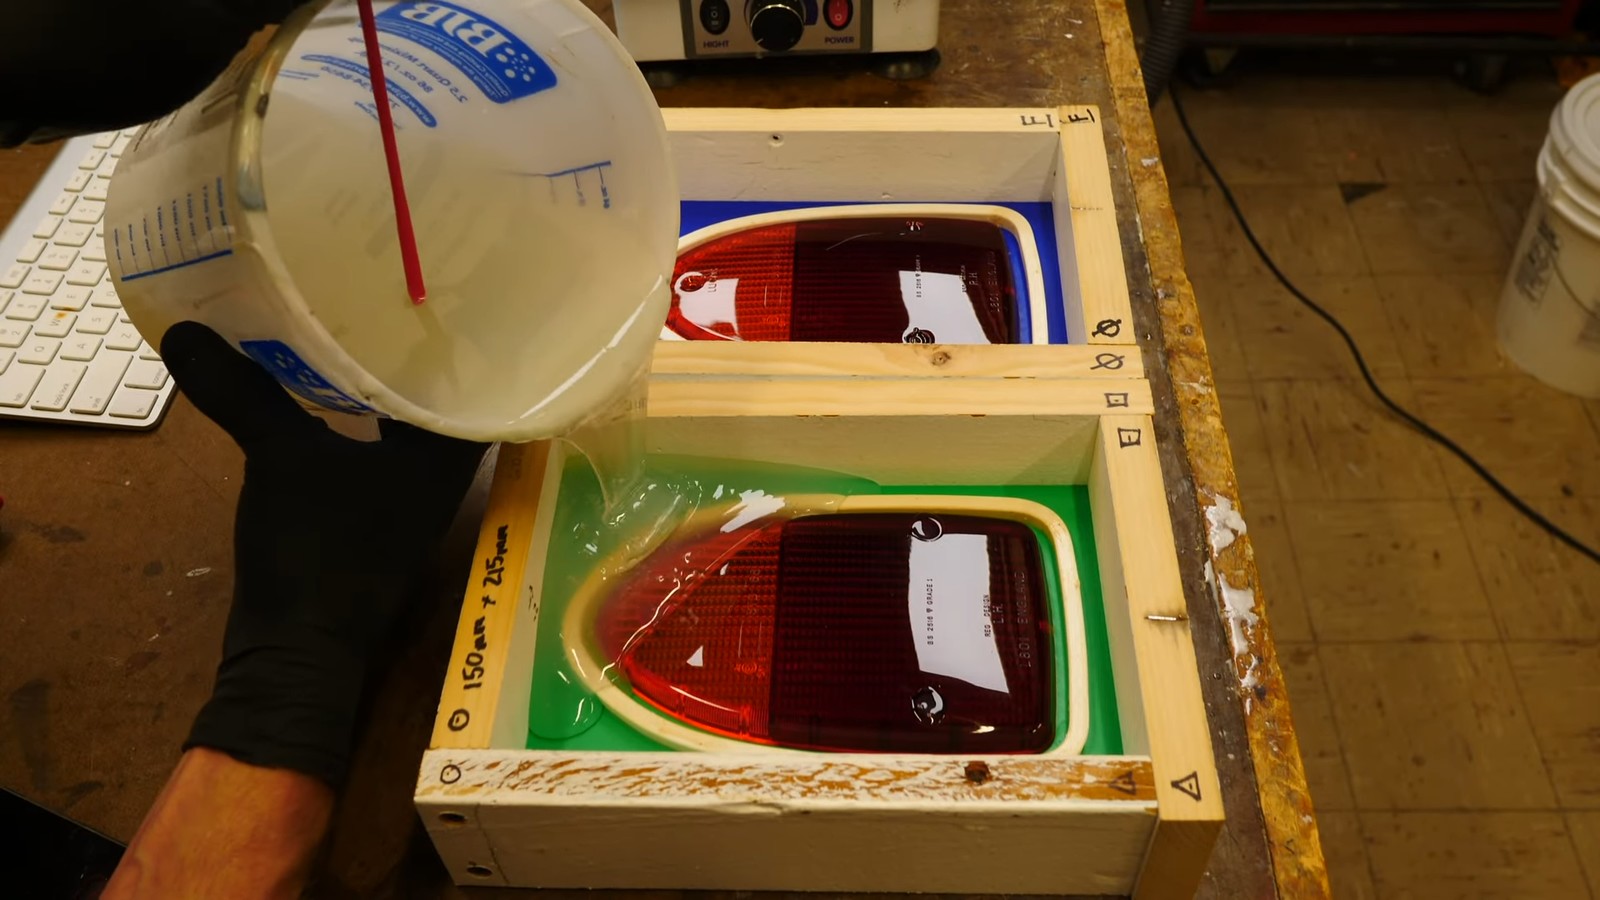
Each taillight lens is prepped by having its weep hole sealed with clay, with white PVA glue applied to stick it to the splitterboard. With the wood box, splitterboard, and taillight assembled, Strebel then pours silicone over the top to create the first half of the mold. The silicone was degassed in a vacuum chamber first to remove all the air content for the best possible results. The worktable was also vibrated during pouring the silicone to further remove any bubbles remaining.
Once the silicone has cured, the mold boxes are disassembled. The 3D-printed splitterbox and flexible seal are removed while leaving the lens itself in the silicone. This allows the second half of the silicone mold to be poured over the top directly, creating a perfect two-part mold. But first, Strebel glues lengths of copper wire all over the lenses to act as vent holes. 3D-printed spouts are also added to block out space for pouring resin into the finished mold. With a touch of release agent in the right places, the assembly is then ready for pouring silicone for the second half of the mold.

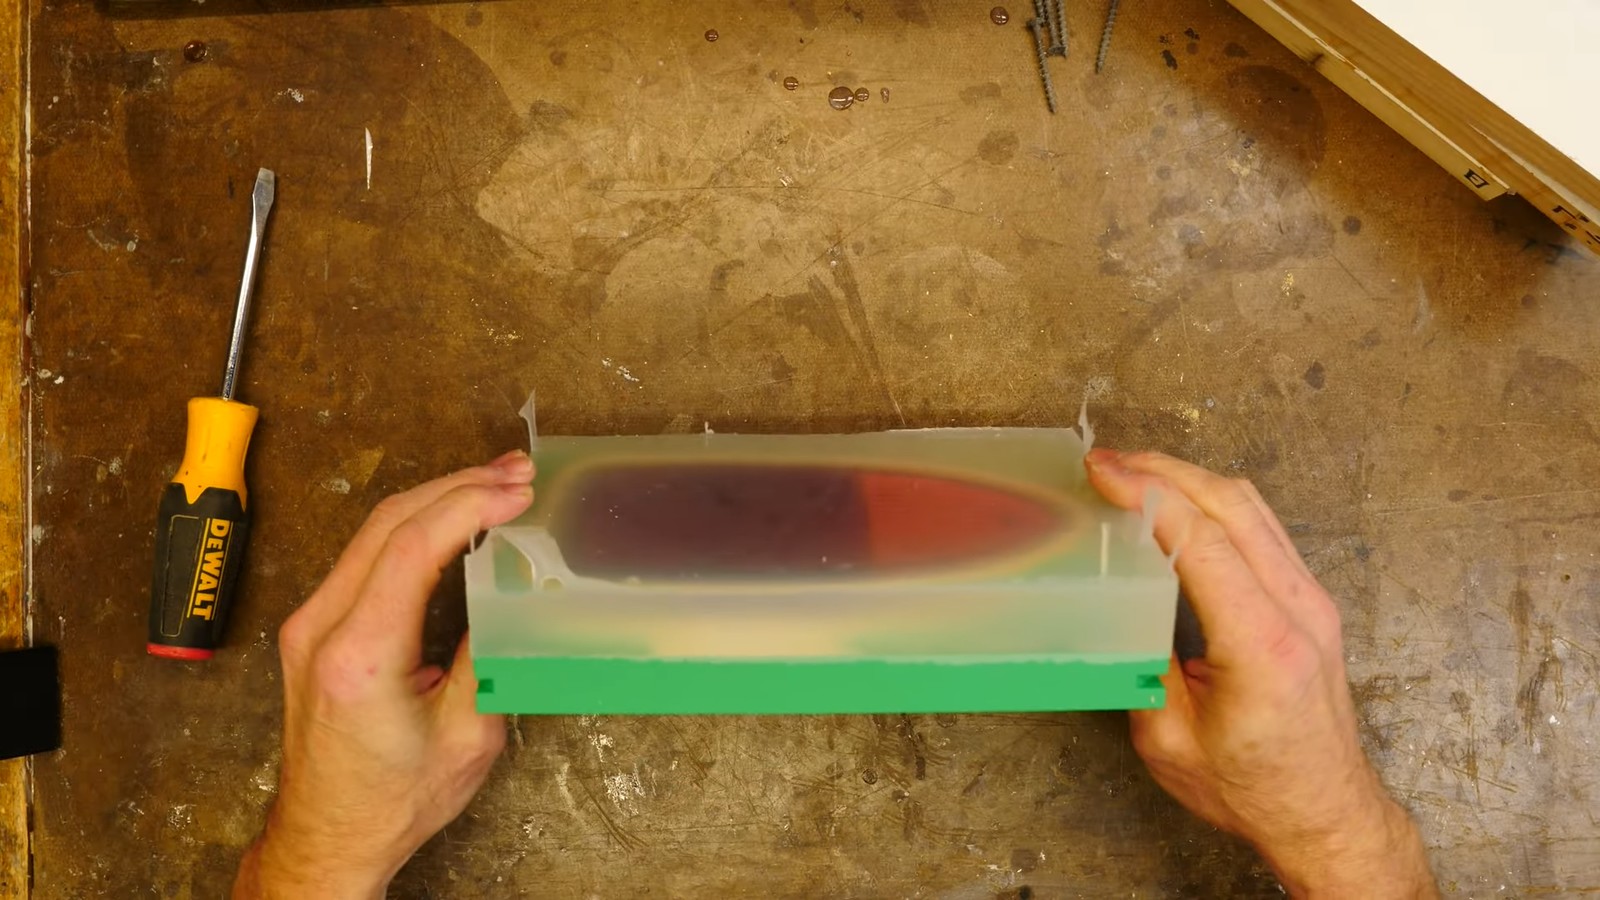


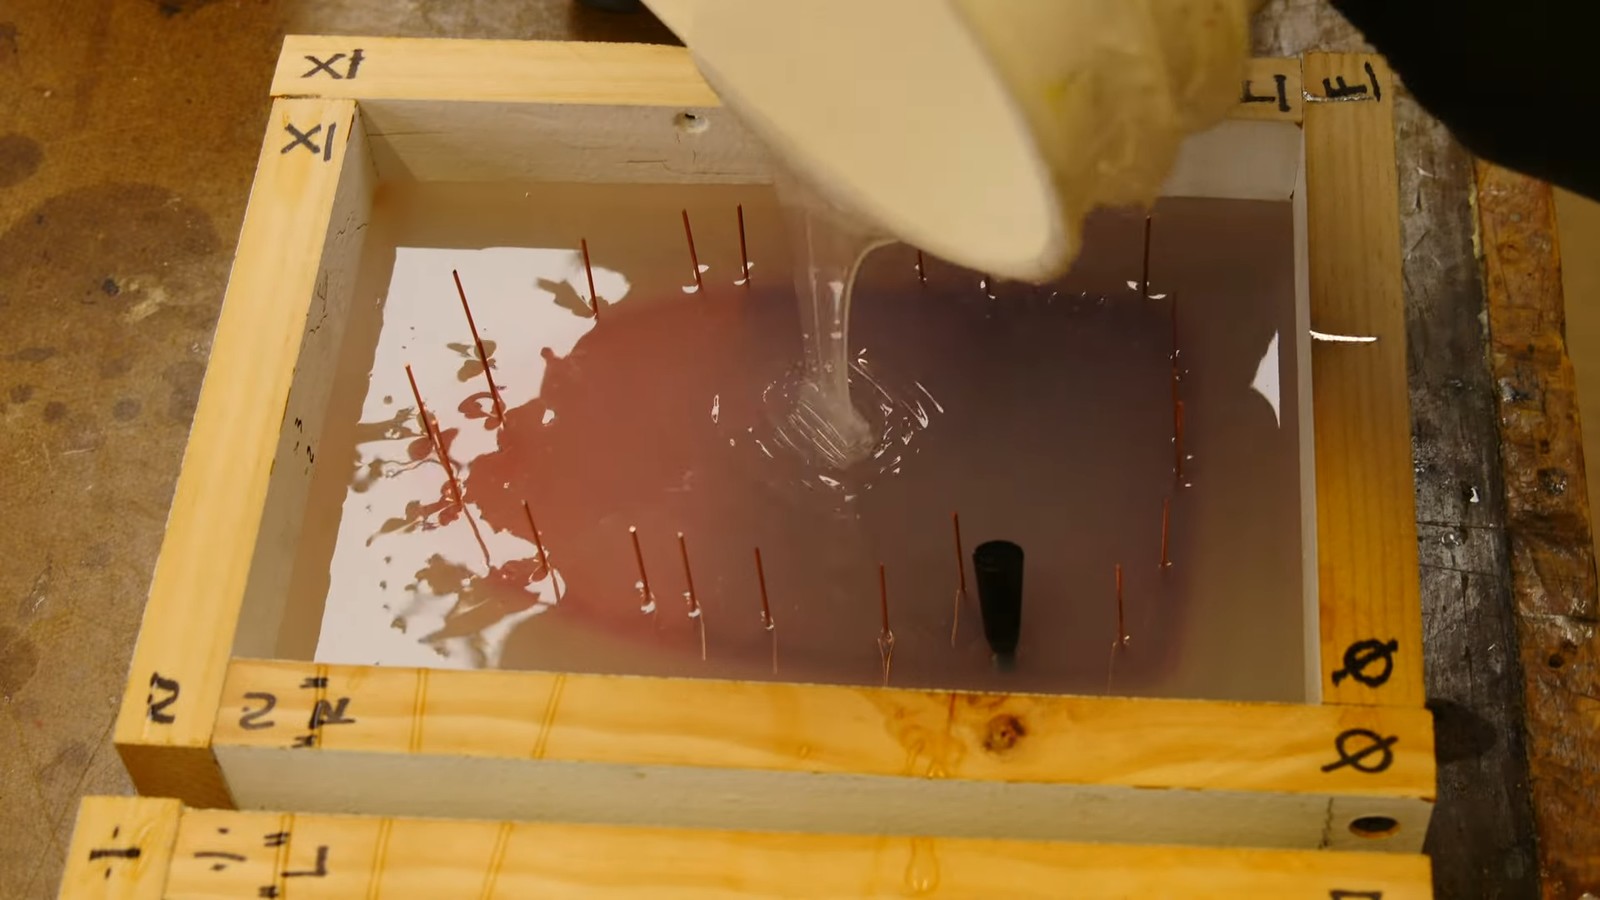
Once cured, Strebel is left with two halves of a silicone mold in the exact geometry of the Jaguar taillight. He notes that getting the molds perfect is important for a part like this, as poor surface finish or air bubbles would ruin the translucency of the part.
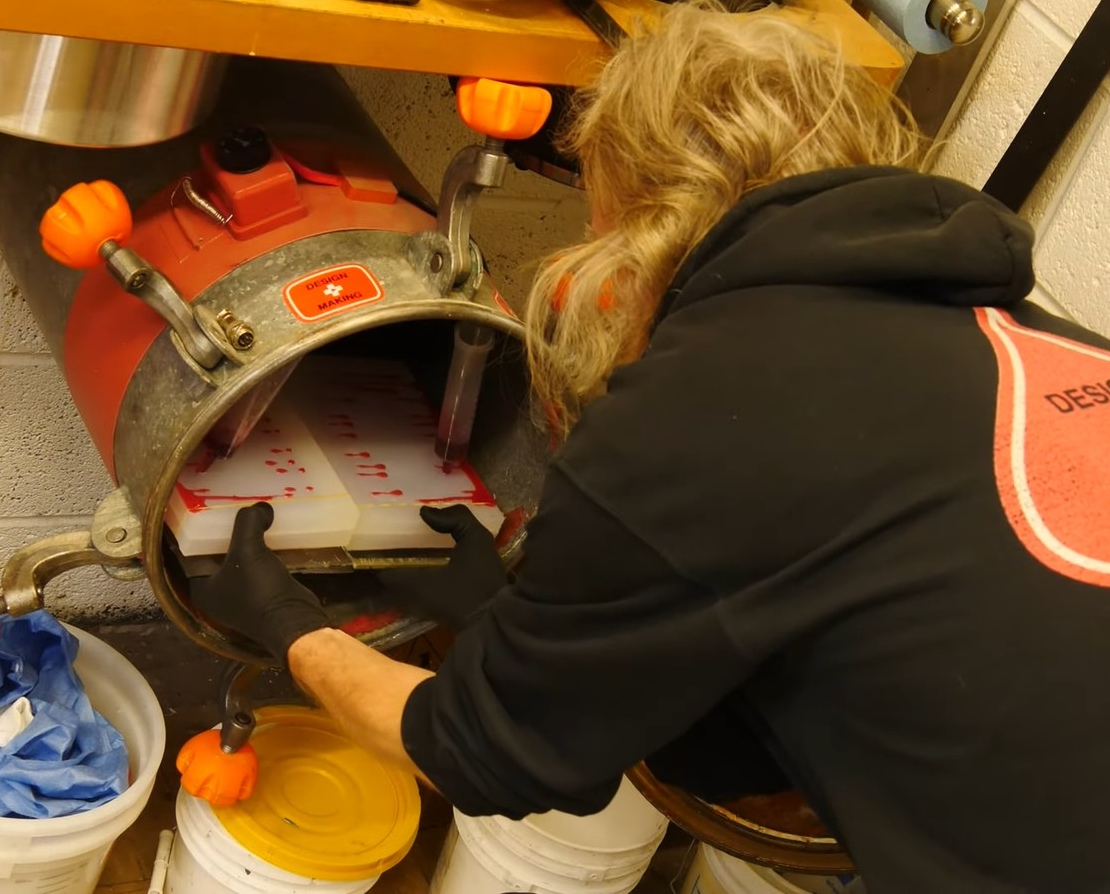
Finally, it’s time to actually make some new lenses. Before pouring the resin, the silicone molds are first warmed to 110 F to help the resin flow nicely. Strebel then mixes up a BJB Water Clear resin, chosen for its good results for translucent and transparent parts. A colorant is then added to get that rich red color so typical of vintage taillights. The resin is then degassed before pouring into the left and right lens molds, each sitting at a 30-degree angle to aid filling and resin distribution. Once full, the vent holes bleed resin, making them look like some kind of kooky Halloween decoration. The parts are then cured under heat and pressure in a sealed tank, which helps shrink any remaining air bubbles to be as tiny and invisible as possible.
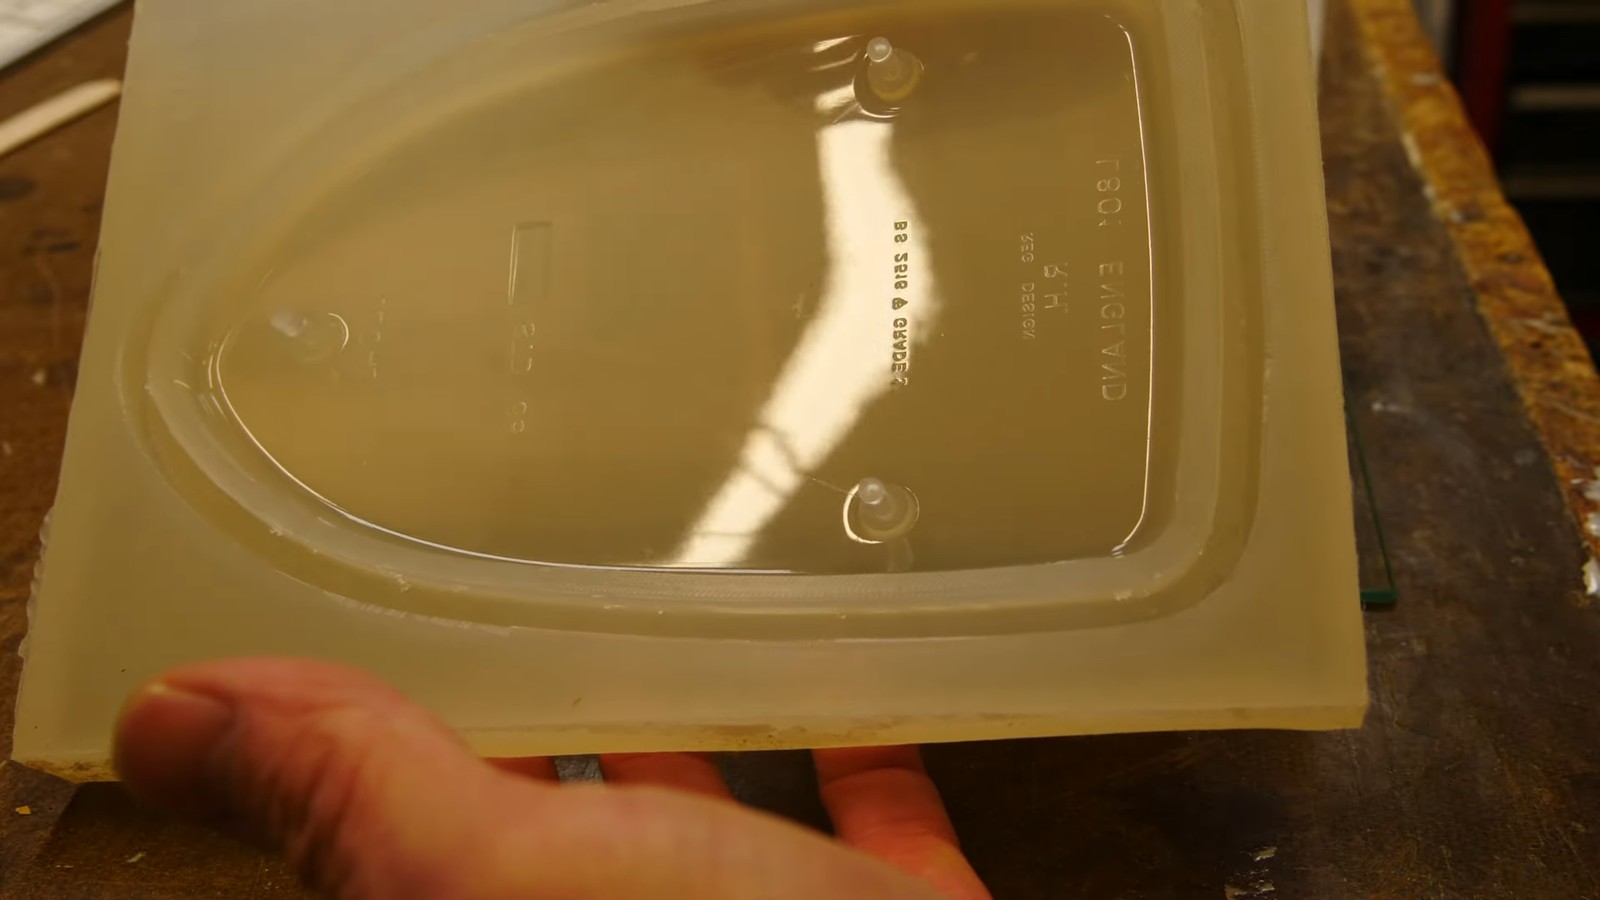
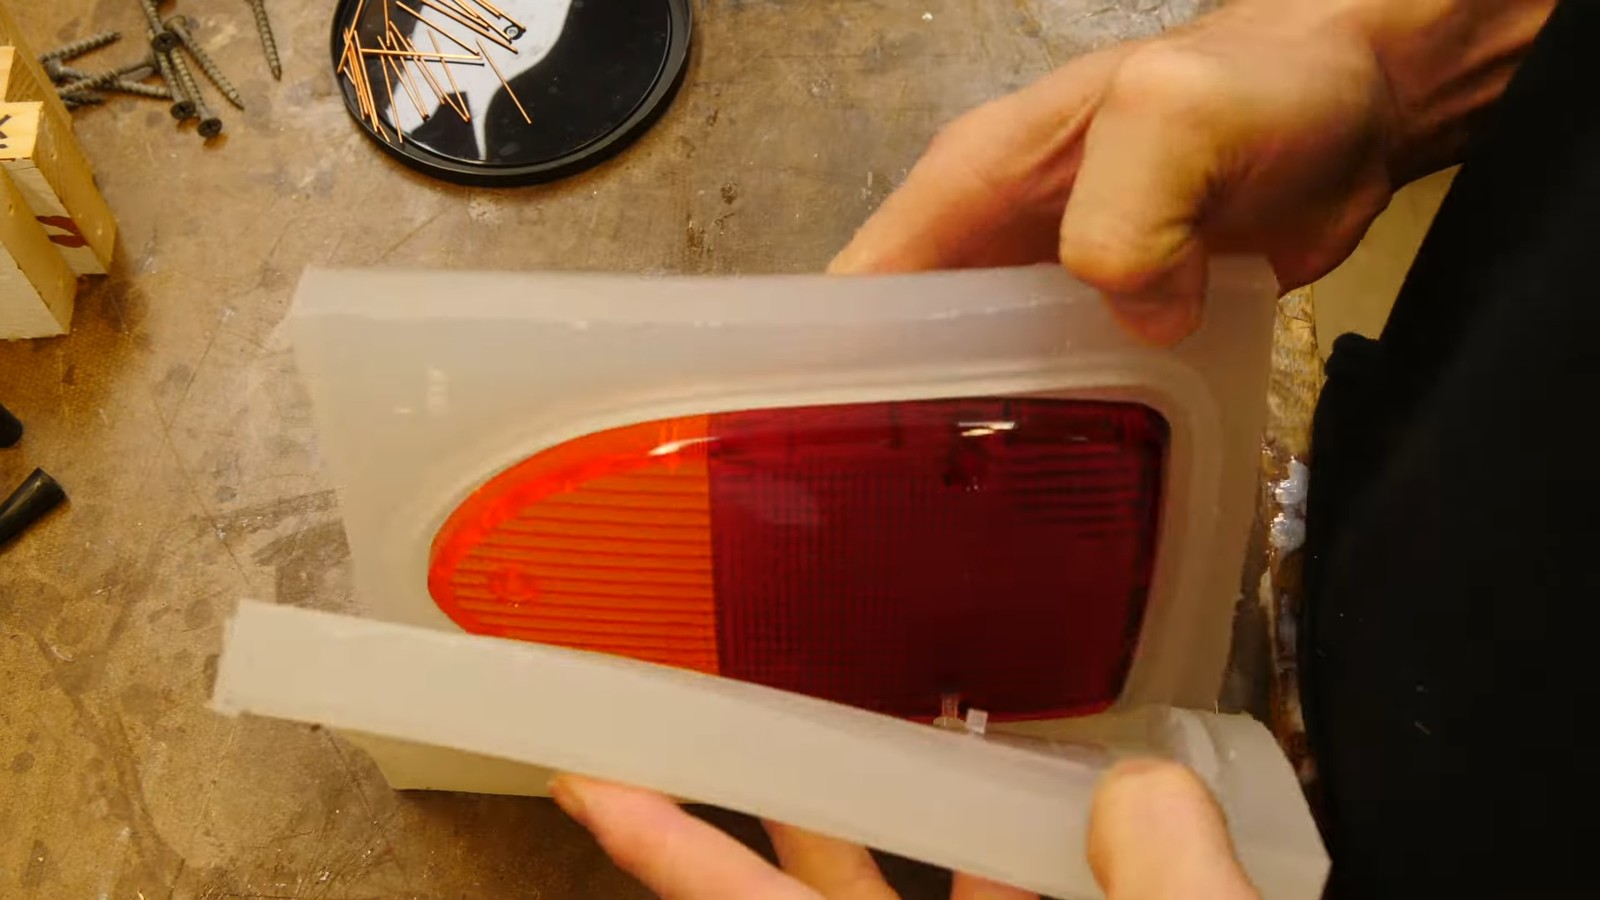
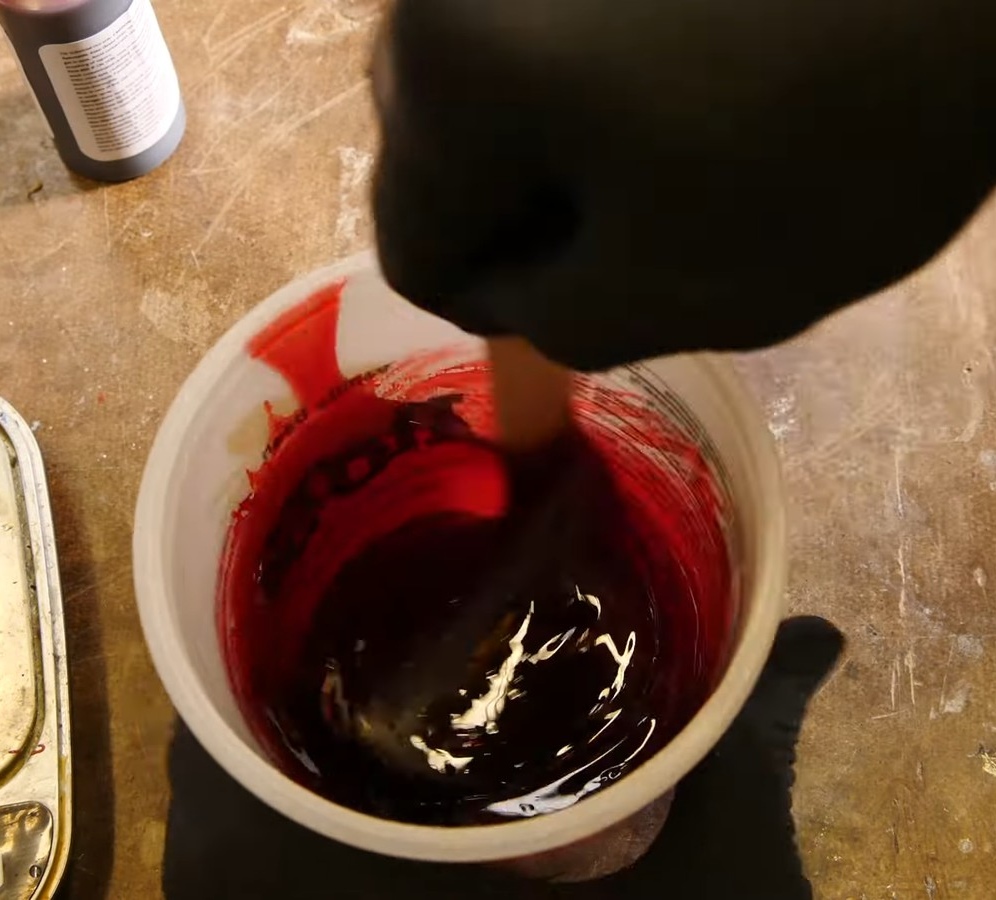
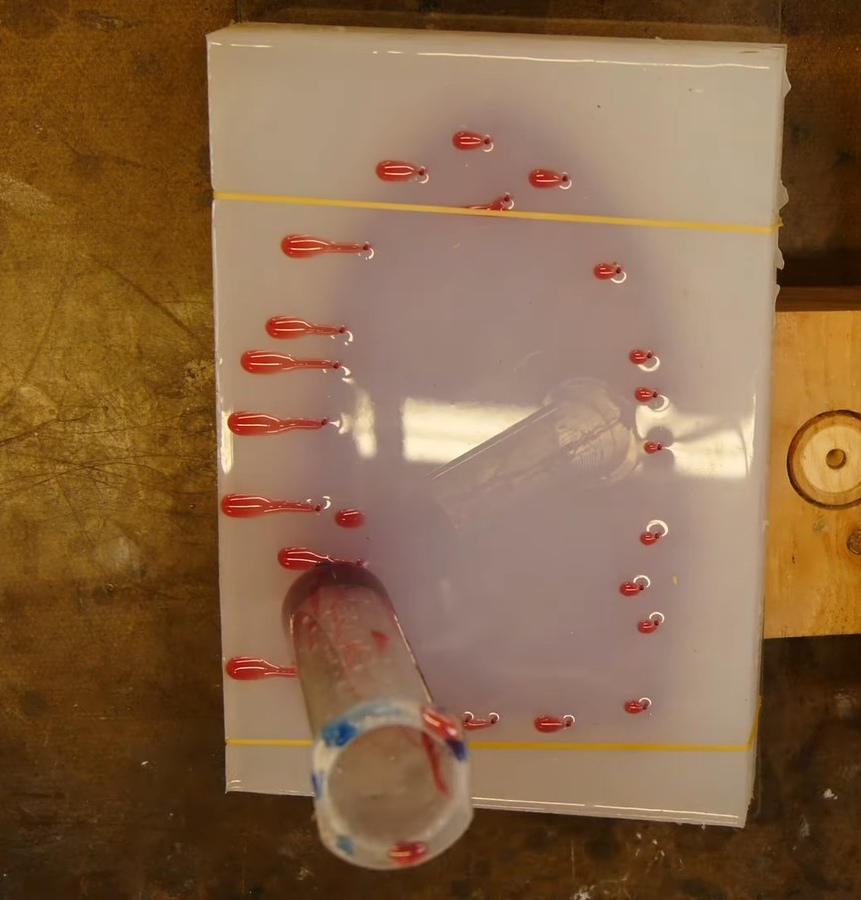
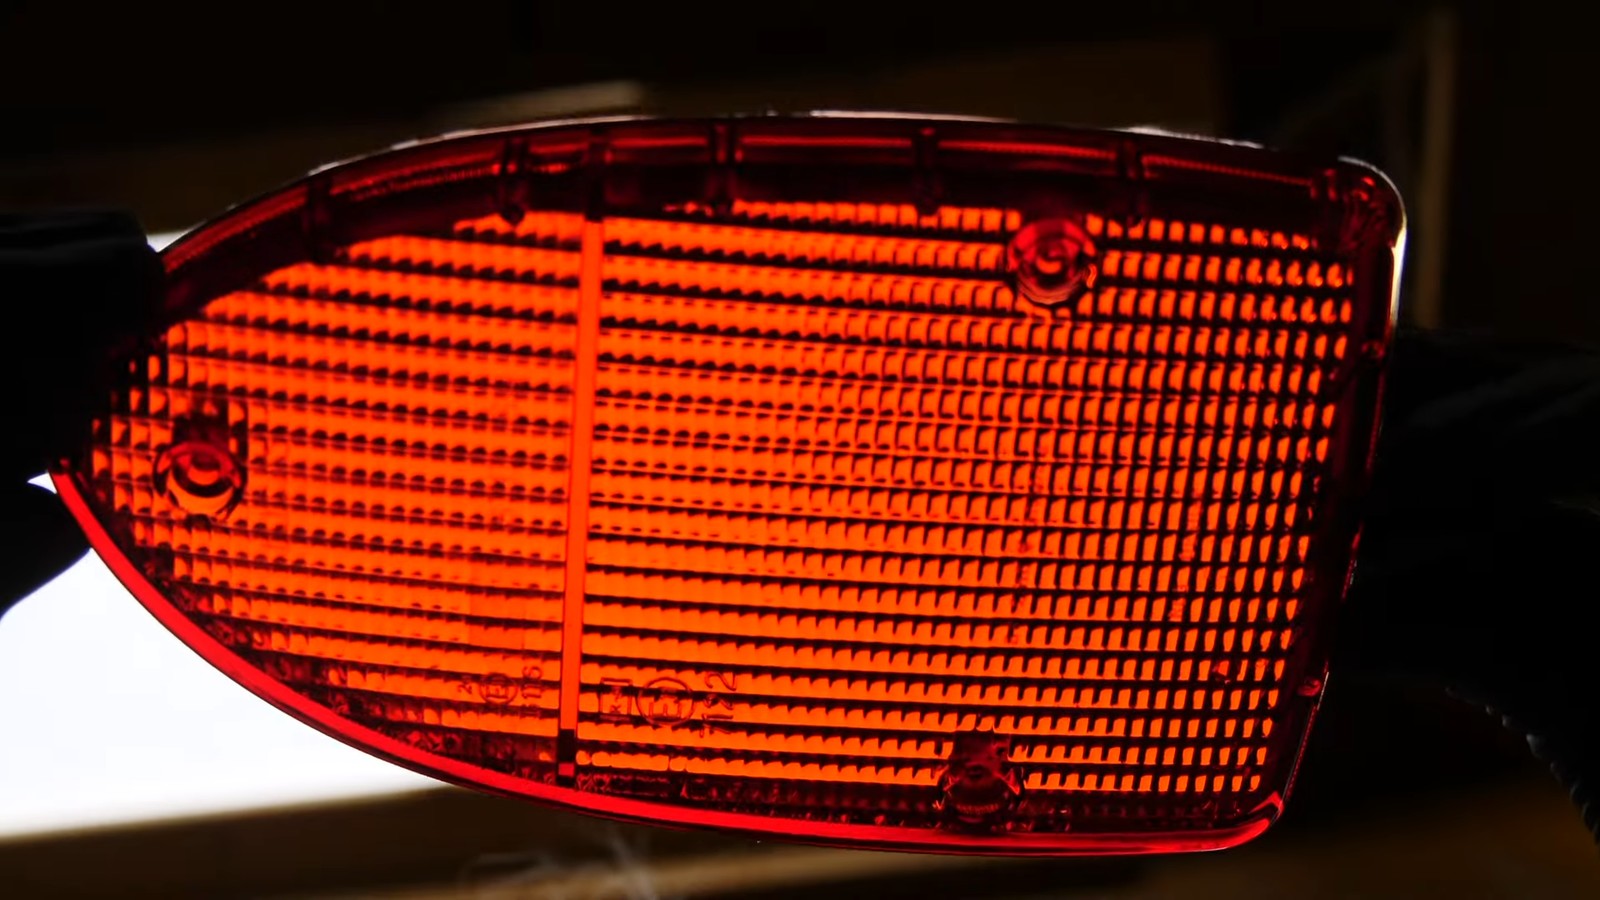
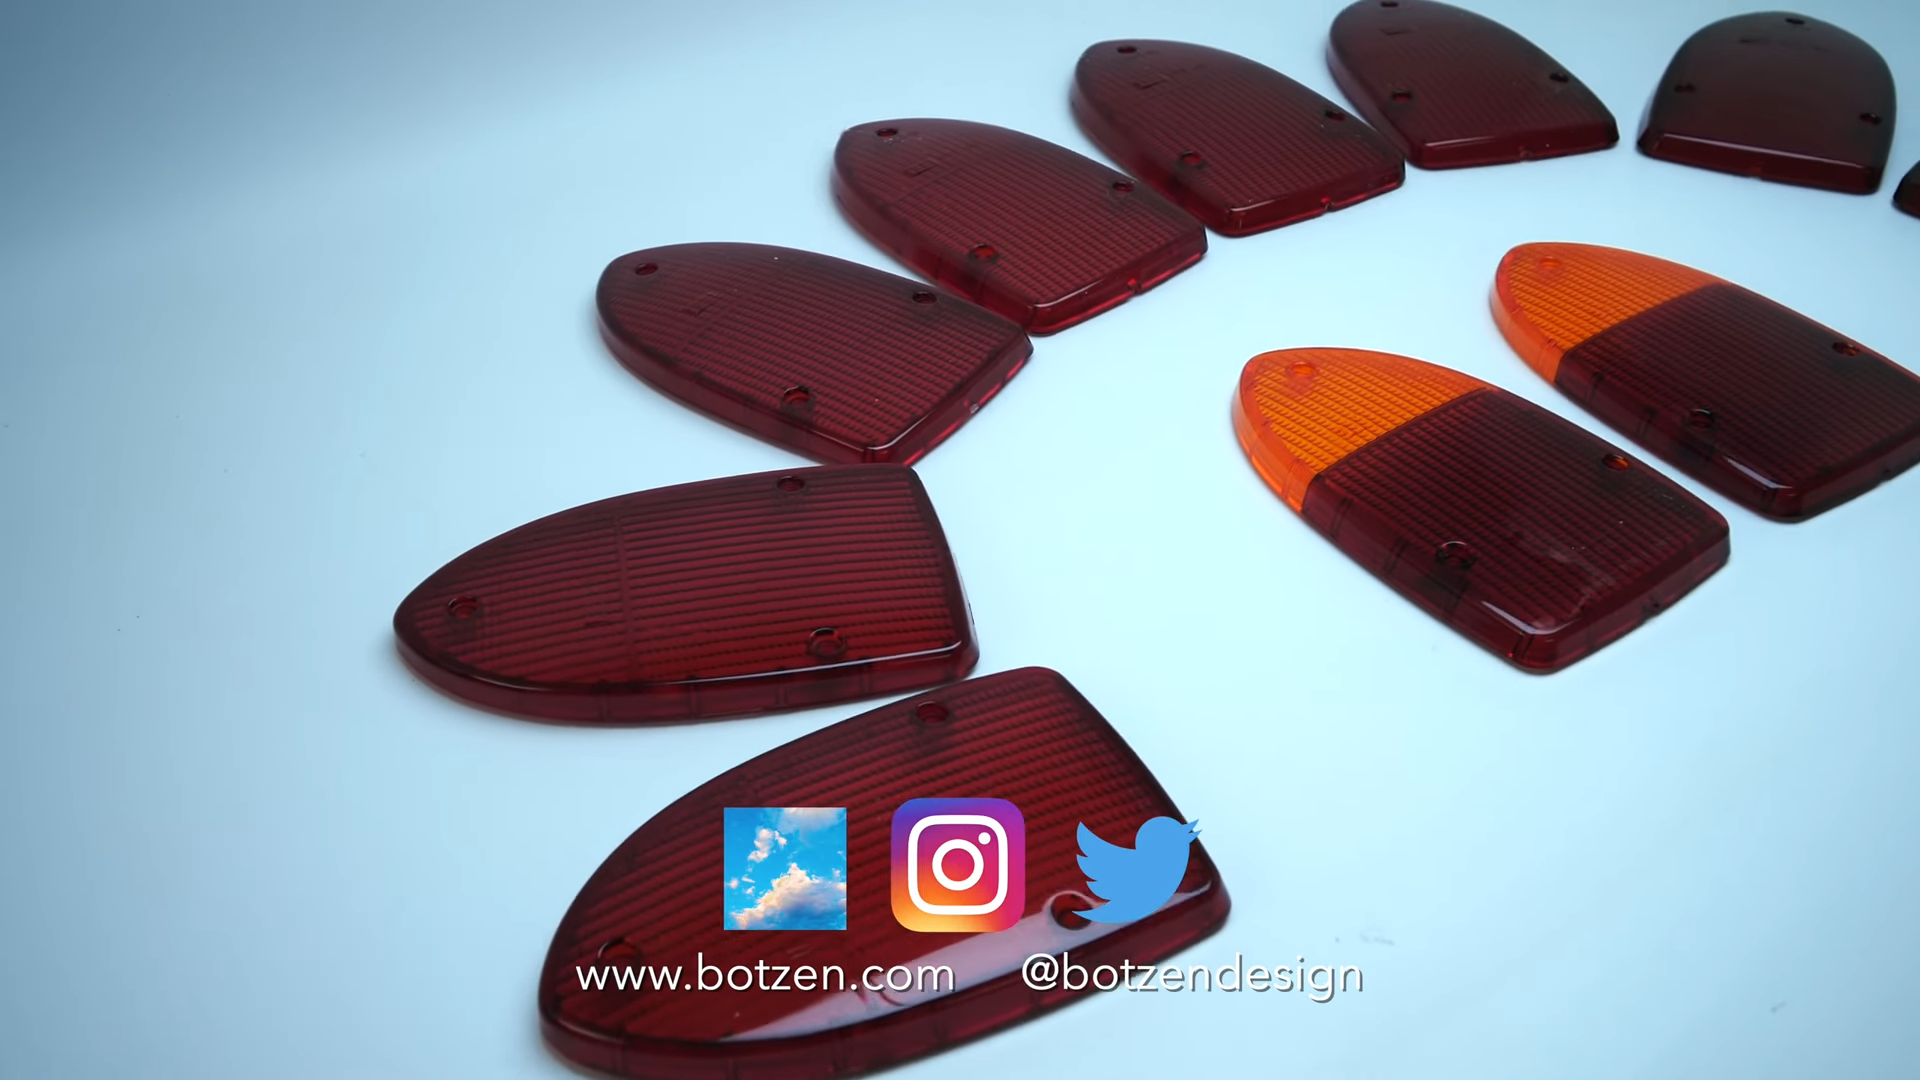
After setting overnight, it’s time to unmold the finished products. “Oh, looks fantastic, very, very, juicy,” says Strebel. “Like candy, blood candy.” The parts have excellent translucency, looking like they just came off a production line in 1974. The silicone molds did an excellent job of preserving the shiny surface finish and the dimpled construction which spreads the light from the bulb. They’re a near-perfect color match, too.
Cost-wise, how does it shake out? “You’re looking at anywhere from $1,000 to $2,000 for something like this,” says Strebel, noting this includes labor and materials. It’s a steep price to pay for taillight lenses, but the results are exemplary.
For the deeper dive, I asked Strebel if he could tell us about what it would take to reproduce the two-tone design. “It’s totally doable, similar to the way the part is made for production, you would need to make one of the colors first then insert it into the master mold and cast the other color next to it, it’s just a matter of time and cost,” he explains.
The process is fiddly, but once you’ve got the molds, you can make more than one set of taillights. “You can get about 20-30 parts from a good silicone mold, says Strebel. “Then the mold will begin to show some wear and the parts will not be 100% any more.”
The technique is slow and time intensive, and few of us have the money to hire an industrial designer to produce replica parts for us. However, if you’re building a classic and you absolutely need an obscure variant of an old taillight? Well, this is how it’s done.
Image credits: Eric Strebel via YouTube screenshot

THIS WAS INFINITELY NEATO. Best damn enthusiast site on the web, heck for nearly any of the things I read about online.
I can’t wait to watch this as the timing is perfect.
I’m just about to start my first experiments on silicone mold making and resin casting this weekend. Nothing as complex as the above, but I’m still pretty excited to try duplicating some old car radio push buttons for my BMC radio project.
It’s fun – just don’t spill any resin parts on yourself; a friend who is a sculptor became allergic to most plastics for over a year after he spilled a couple of tablespoons of activator (hardenre?) on his jeans.
I cast 87th scale model cars (well, I used to before I had kids) but there are some nice tricks in this video that I will incorporate.
I made a new set of lenses for my Travelall out of a set of Tahoe lenses. They work and look fine, but they aren’t factory match by any means.
the cooler part of that project was the other set of Travelall tail lenses. My lower lenses were in ok physical shape, but majorly sun faded. I repainted them using DupliColor MetalCast which is a transparent shiny paint. When it dries it almost looks like see through plastic. It worked amazingly well. If the original two color lights were orange, then sprayed red, I am confident you could get a fantastic result casting these in orange and painting them with the MetalCast.
Feel free to see the results in the video below.
https://youtu.be/B0EMS8gGe1o?si=rQNGlTpcibE35hpR
LMFAO WE LIVE IN A SIMULATION!
Sooooo I imported some parts from England for my Manual Swapped Series 1 XJ6 Triple Carb Project, and I took these pictures a few days ago:
https://imgur.com/a/0SBSgTK
The imported lenses have the amber up top, the US spec ones are all red. I’m not sure what I like more, so I put one on each side. Thoughts? I think the red ones look sort of boring, and I like how the amber/red split lines up with the trim/reverse lights on the trunk. Seems weird someone wants all red ones, when they came like that.
Also WTF are the odds of this article being about XJ6 taillights, when I have XJ6 tails on my mind…..
amber for me!
Amber for me. I guess the German guy just thinks the grass was greener on the other side.
As a recovering ’01 Cobra owner, it’s amber all the way!
Two colors would actually be doable with silicone molds but it would be a two shot process.
It would also be considerably more difficult, as you likely need some sort insert to prevent the first poured color from going into the portion of the mold meant for the second color. Then you’d have to be worried about the bond strength where the two colors meet.
The original ones with amber are molded all amber, and have a translucent red paint on the lower half.
Great write up, I love this and want to try.
I got a set of ARE 398 wheels (a BBS RS knockoff) for super cheap. Turns out the center caps are unobtanium.
I managed to find 1 of the backer plates. I combined it with the metal and plastic hexagonal center cap from a Ford Crown Vic mesh wheel.
Then I did the same thing as the article. Silicone mold and plastic. Viola, 4 center caps.
How much did you pay? I just sold a set for $600, complete. Worth wayyyyy more with centercaps.
I got a 5×120 set for $400, no caps. I made my caps, but then ended finding a set of 6 in 5×112 with caps for $500, so I got them, too. They needed a refinish BADLY. I got an offer for $800 for the 4 with caps, so I let them go. I think he’d have paid $400 for just the caps.
Article about tail lights without Jason? What is going on here?
What sort of roshambo game did you have to play to get this story from Torch’s mitts?
$1000-$2000? Seriously?
https://www.ebay.co.uk/itm/323694486168?hash=item4b5db1e298:g:OY4AAOSwaP5cZUdJ&amdata=enc%3AAQAIAAAA4KEmklvF73EyT7kKy%2BEY5lrFGaMMGxiDsPet9MyJFJs5XxXnmv3W%2B7hs83LFN2TrPtF4pi3hM66EkU%2BZ%2FPUTdpdUlI3kTdApUyn48JJ6DyEYxv351wycgqF%2BZ8d%2BanCU4xez7G8Mbjy0J%2BUlHSRk9eIgk9Ng5xIaGXvvwzm%2BLbdOpsn6sUGN827vQGVO3%2BGTJJDmQzmvS7QVdzpTWoWEhCTnopRjHXX3dq9Ln3WwXcEsdikZgjCFEMqMNssnJsnC5Rbl7FFcoJuW%2B68p9Xa99oBnijoJMdK13QJg1Cc%2Fa8IB%7Ctkp%3ABk9SR6a_xtWsYw
“Doesn’t post to the United States” so you have to include airfare to the UK to pick them up. /s
Reminds me of when I was looking at prices for a drug for a common neurological condition, and realized that it would be cheaper to fly from the US West Coast to London to buy it every 6 months than to pay US prices.
I’ve had pretty good luck (perhaps 75%-ish success) with asking eBay sellers in the UK to ship car parts to me in the US despite that warning. I attribute this to a combination of:
(1) sympathy for my heartfelt plea that I really do own a [whichever UK-market absurdity is involved this time] over here and therefore clearly I need all the help I can get,
(2) my up-front offer to pay a premium for shipping, including (hint-hint) my lack of concern should they choose to pad the bill and pocket the difference as compensation for their trouble,
and
(3) an enlightened self-interest on the part of the seller that there’s probably not that much of a domestic market these days for, say, an Allegro 3 speedometer anyway, so it’s best to take whatever offer comes along.
Of course, your mileage may vary. Mine’s certainly more consistent with the new speedometer, though.
New t-shirt idea?
Well, yeah, Adrian, but that’s 65 pounds for one. What if I need two? What then?
Sounds pretty heavy for a single tail light lens.
That’s just the shipping weight. Installing it over the bulb lightens it.
Plus the shipping costs to transport 130 pounds of taillights aint gonna be cheap.
There is another listing for the other side.
Yeah, but do you have to add your own Lucas smoke?
3d printing molds for silicone and resin has definitely become a thing. It is not too difficult or expensive to master. We could recast some taillights with amber inserts and make Jason a very happy boy.
I have and use a FDM 3D printer optimized to print gaming figure. I’ve never cast from this but I can’t imagine you’d get good results. Even with a tiny extruder, lots of tuning, and slow (smooth) printing the surface is not anywhere smooth enough to produce a shine like these lights have.
I know there’s a UV resin printer out there targeted at making jewelry sized models for last wax casting but even that needs polishing.
I’d love to know more
You can polish the finished part to remove the layer lines and get the shine.
Thank you.
Easier to spray build primer, then sand. Make sure to use a sealer and then polish that for optimum shine.
I don’t think you want to paint the 3D printed part if you’re going to use it as a mold.
Works fine. All you need is a smooth surface, and you can get way smoother with build primer/sealer than sanding printed plastic.